AVF ZML2500 Manuel
Naviguer en ligne ou télécharger Manuel pour Supports muraux pour écrans plats AVF ZML2500. AVF ZML2500 flat panel wall mount Manuel d'utilisatio
- Page / 8
- Table des matières
- MARQUE LIVRES
Résumé du contenu
L2500Leaflet No. 462985 rev 04English languageAVF Group Ltd. Road 30. Hortonwood Ind Est, Telford, Shropshire, TF1 7YE, England32"81cmCUSTOMER SE
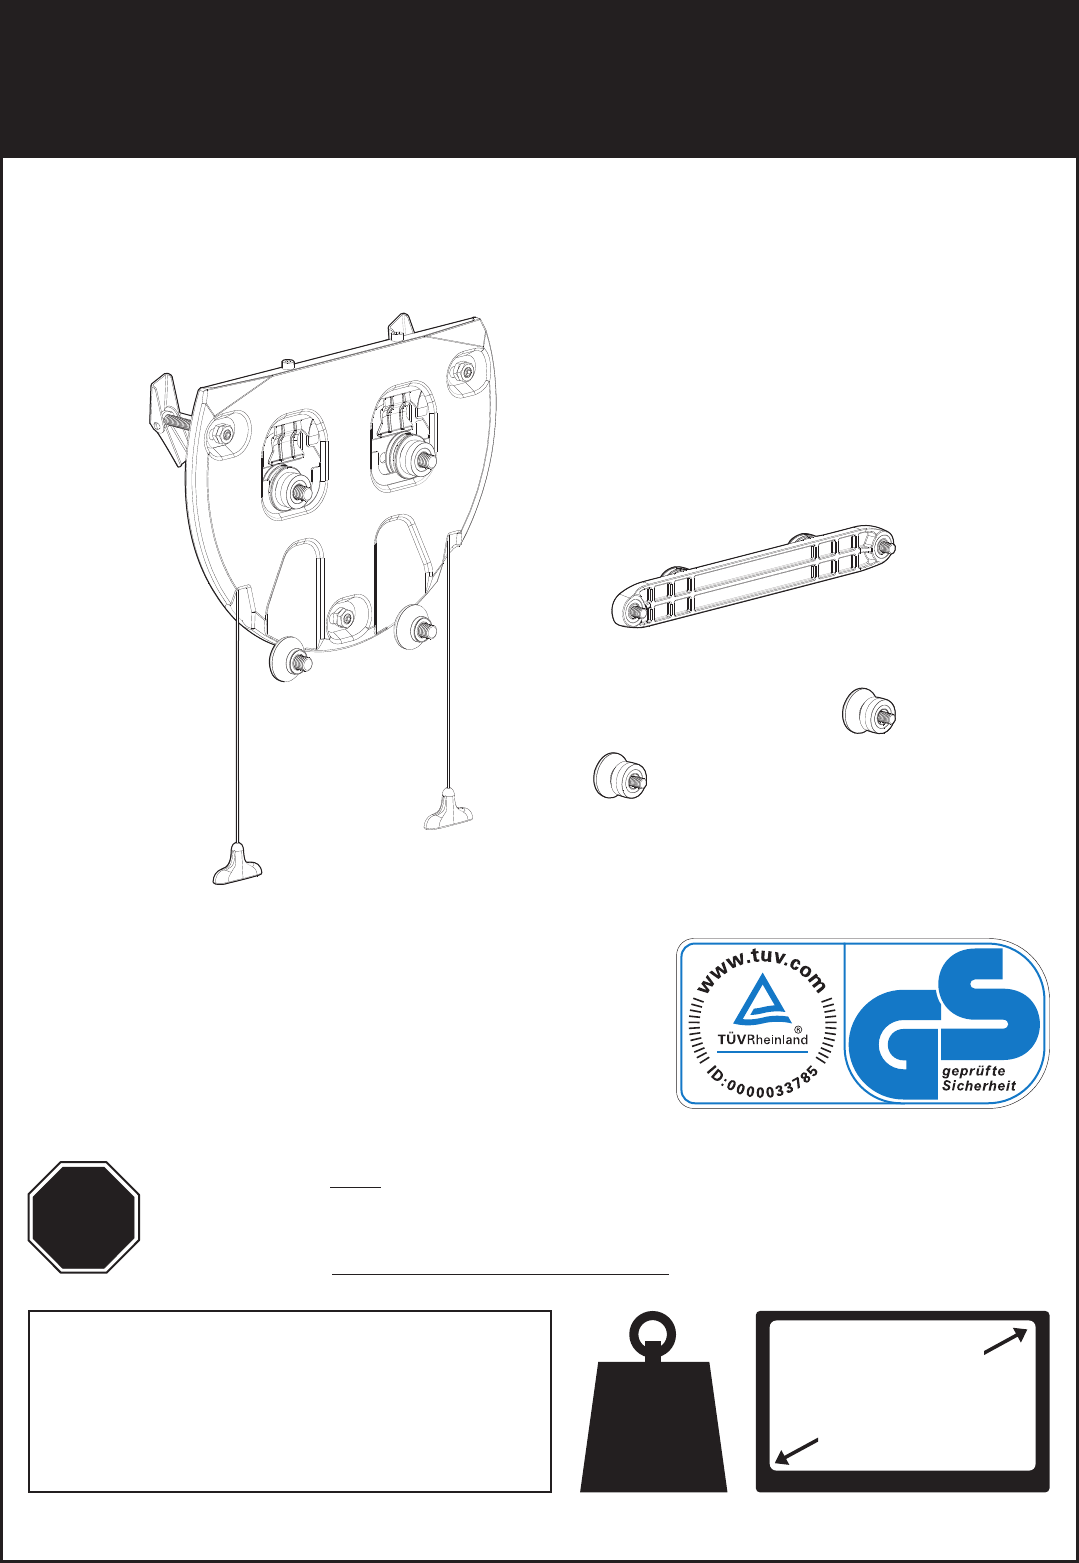
1Boxed PartsA - x1Wall BracketB - x2Hanger (Yellow)C - x2Stand-offYou will not need all these parts, so expect there to be some left over dep
F2, 6 ,10, 143Determine Correct TV Screw SizeChoose from the TV Fixings selection. You need to determine which length and diameter of screwsfits your
5Marking Wall For Drill PointsUse the Wall Bracket (A) as a template andposition it on your wall. Ensure the bracket is level and mark the three DRIL
7Install Wall FixingsUse the correct fixings for your wall type. Mixing fixing types may be required for installations thatspan different wall types.
8Hanging The TVPush the yellow Hangers (on the back of the TV) in to the yellowreceptor on the Wall Brackets. Slide down into place. Ensure bothyellow
9Alternative Hanger ConfigurationsAlternative Wall spacings of 12mm, 20mm,30mm & 40mm can be achieved using thespacer / screw combinations listed
* * * * ND1D1D1CD1D1* * BE1, 2, 3F4, 8 ,12, 16D1D1D1CE1, 2, 3F3, 7 ,11, 15D1D1BE1, 2, 3F3, 7 ,11, 15D1D1CE1, 2, 3F2, 6 ,10, 14D1* * E1, 2, 3F3, 7 ,11,
Produits connexes et manuels pour Supports muraux pour écrans plats AVF ZML2500
 (2 pages)
 (2 pages)
© 2020, manymanuals.fr. Tous droits réservés | 0.214 s |
 Manymanuals.com
 Manymanuals.de
 Manymanuals.fr
 Manymanuals.it
 Manymanuals.pl
 Manymanuals.cz
 Manymanuals.es
 Manymanuals-pt.com
Commentaires sur ces manuels